Connecting Preset to Kaivo
This article is a step-by-step guide on how you can connect Kaivo to Preset.
Step 1: Add and Select Your Database
Section titled “Step 1: Add and Select Your Database”1. Access Database Connections
Section titled “1. Access Database Connections”-
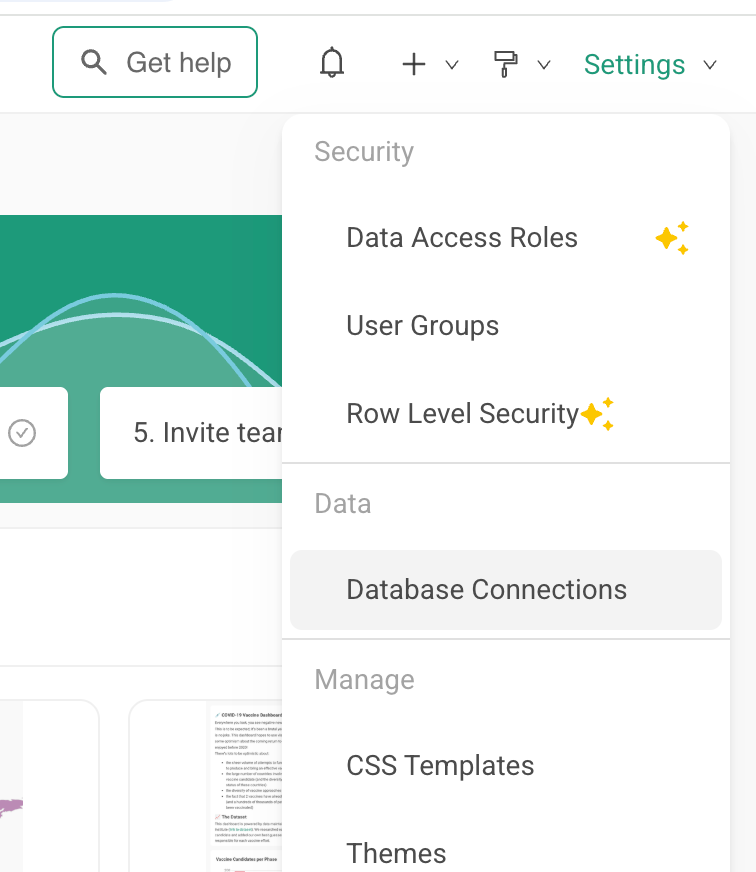
In the top-right corner of the Preset interface, click on the Settings dropdown menu.
-
Select Database Connections from under the Data category
2. Initialize a New Connection
Section titled “2. Initialize a New Connection” -
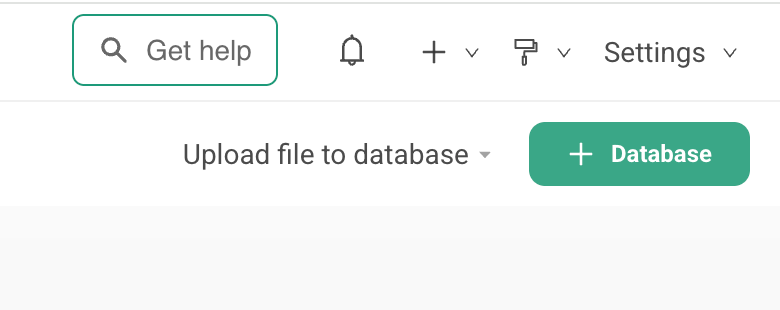
Click + Database button located in the top-right corner of the screen
3. Choose Google BigQuery
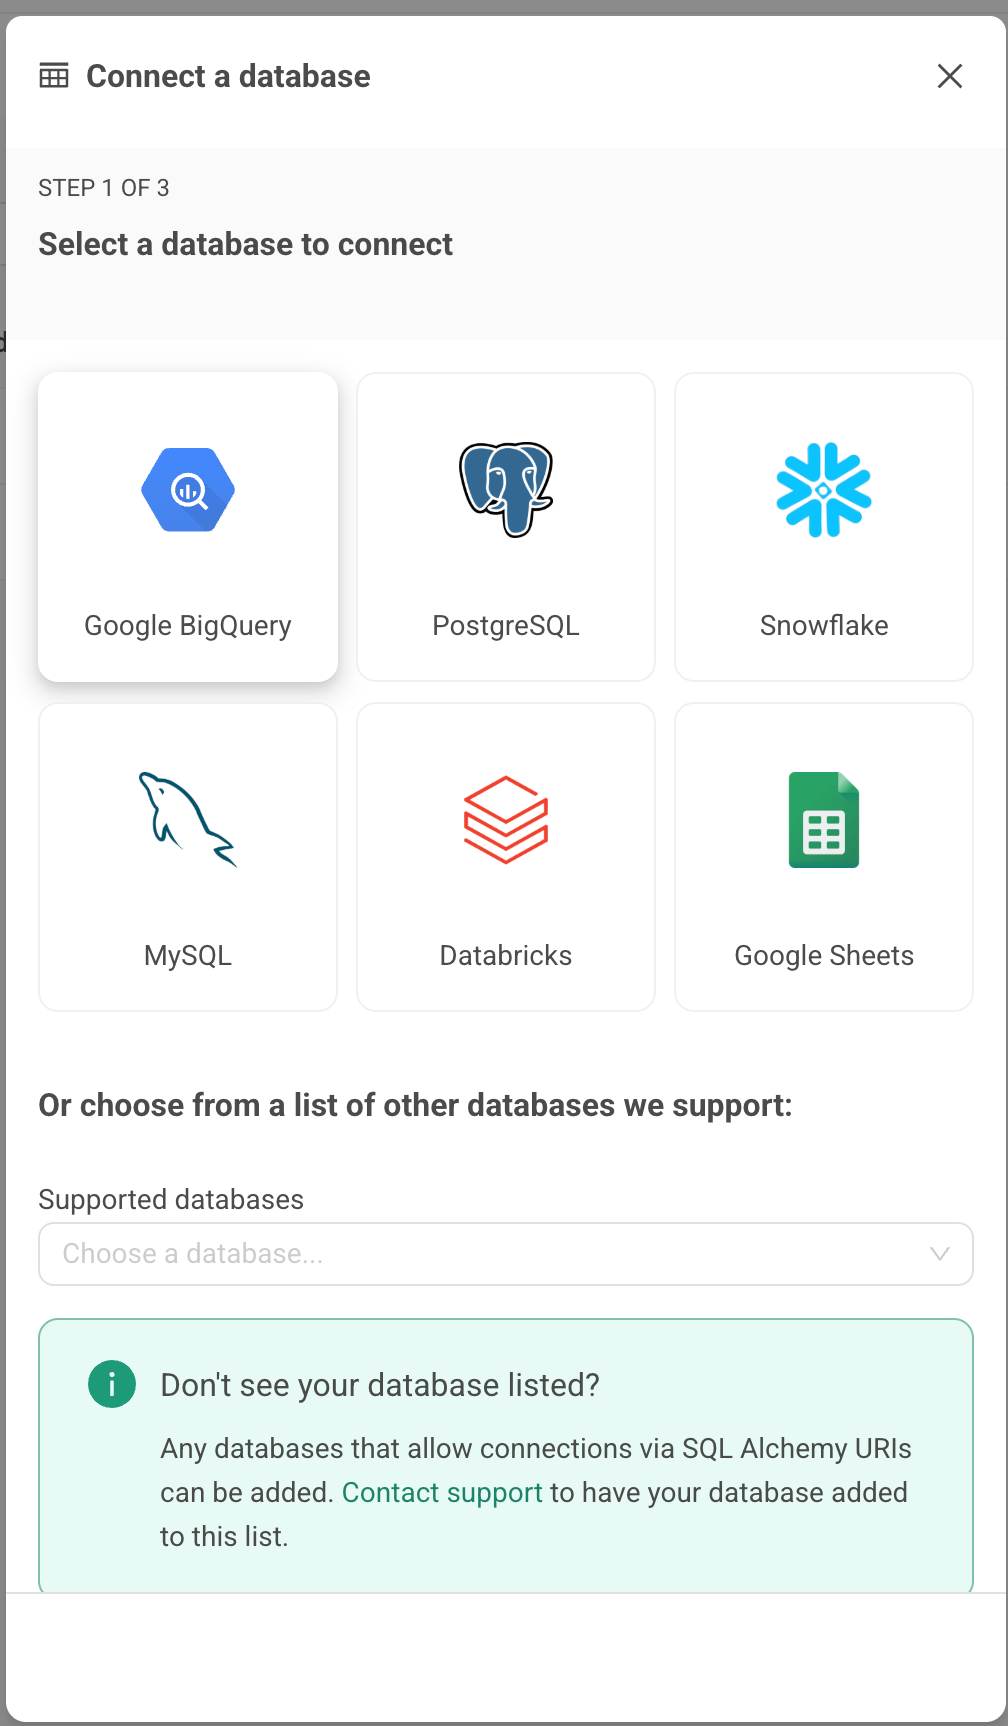
Section titled “3. Choose Google BigQuery”- Under the Select a database to connect section, click on the Google BigQuery tile to proceed to the credentials setup.
Step 2: Enter Google BigQuery Credentials
Section titled “Step 2: Enter Google BigQuery Credentials”1. Database Identification
Section titled “1. Database Identification”-
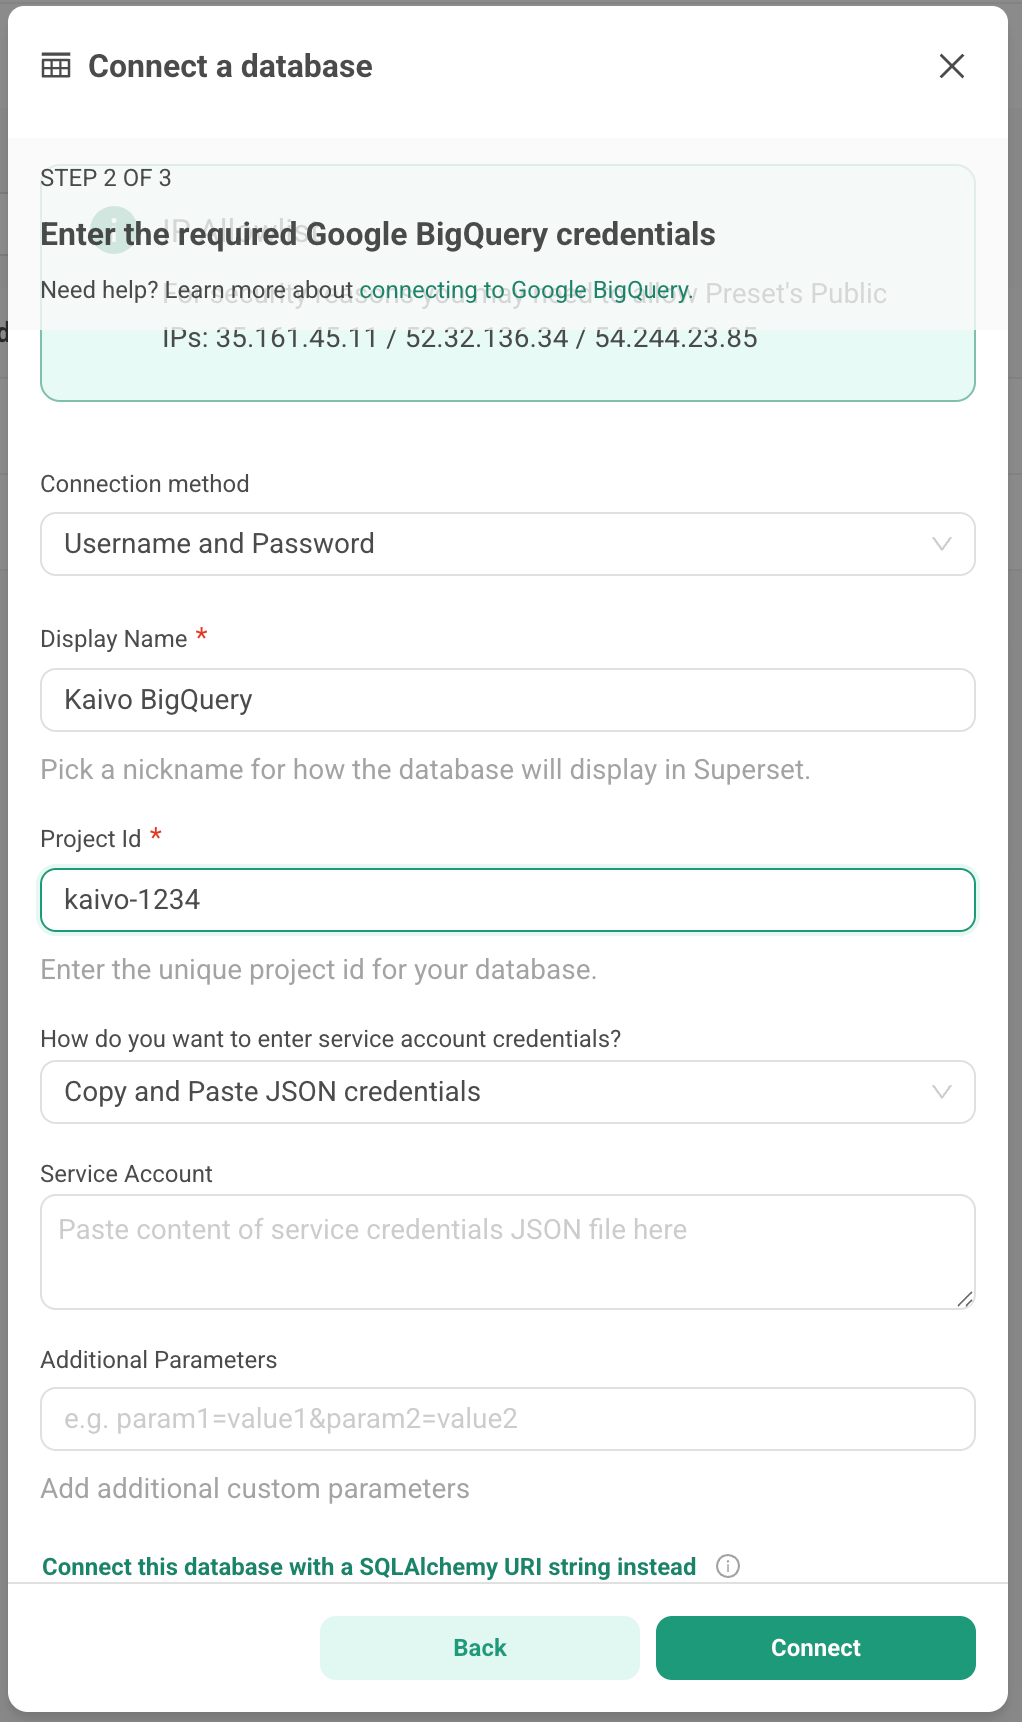
Display Name: Enter a recognizable nickname to identify this database within the Preset interface (e.g.,
Kaivo BigQuery). -
Project Id: Enter your unique Google Cloud Project ID as shown in the picture.
Where to find it: You can copy this from the project selection dropdown at the top of your Google Cloud Console, or find it listed as the
"project_id"inside your service account JSON file. -
How do you want to enter service account credentials?: Select Copy and Paste JSON credentials from the dropdown menu.
2. Service Account Authentication
Section titled “2. Service Account Authentication” -
Service Account Key Setup:
-
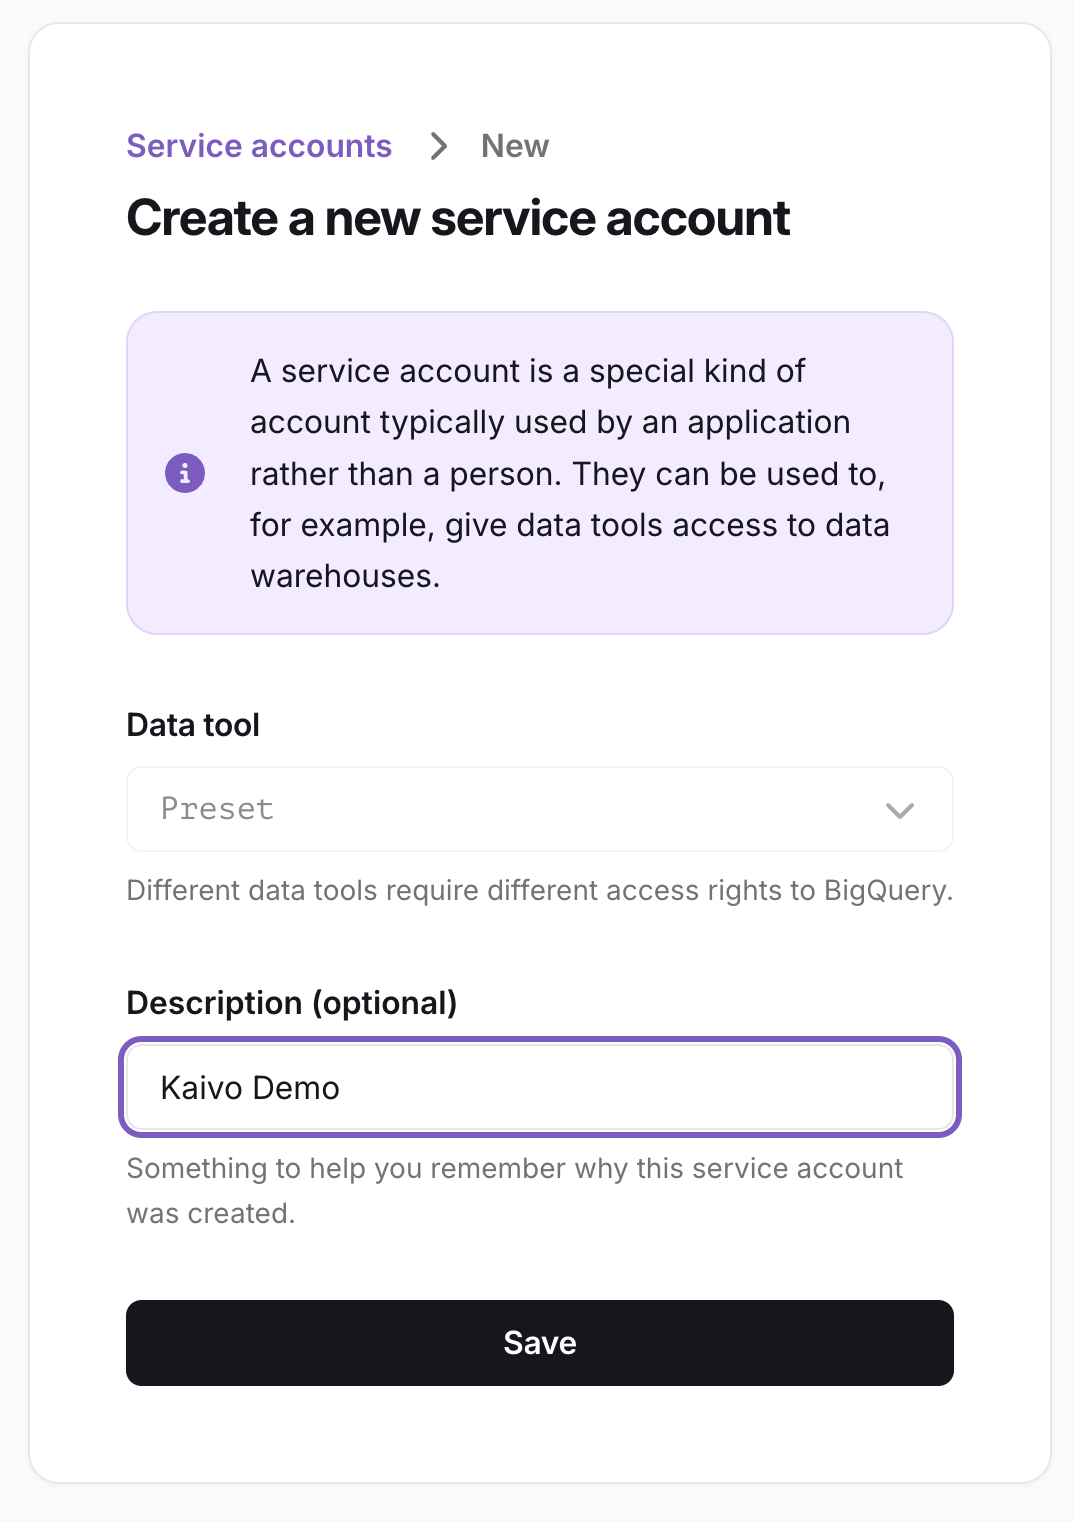
Click the Kaivo service account page link to open it in a new tab.
-
Create your service account within that portal.
-
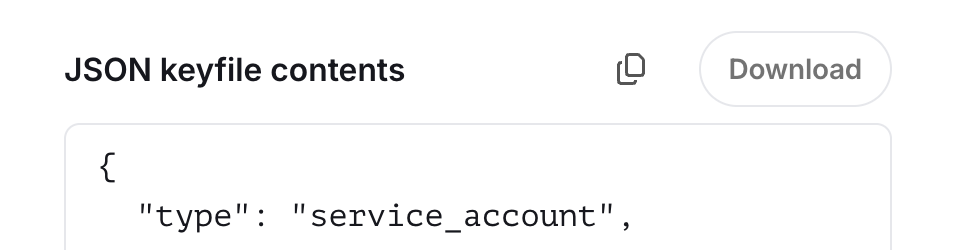
Copy the entire text contents of the resulting JSON keyfile.
-
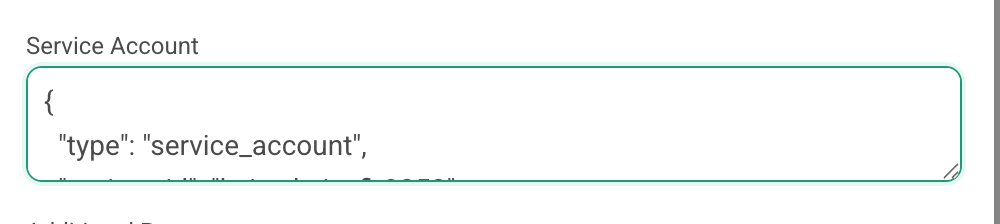
Return to Preset and paste the copied JSON text directly into the credentials field.
-
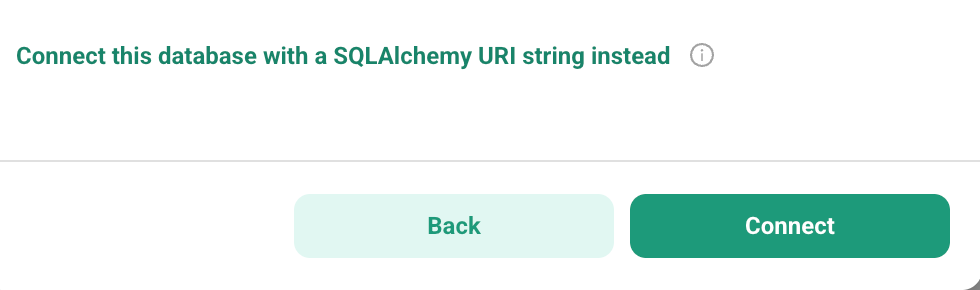
Once pasted, you can safely close the service account tab in Kaivo and click Connect in Preset.
Step 3: Complete Connection and Optional Adjustments
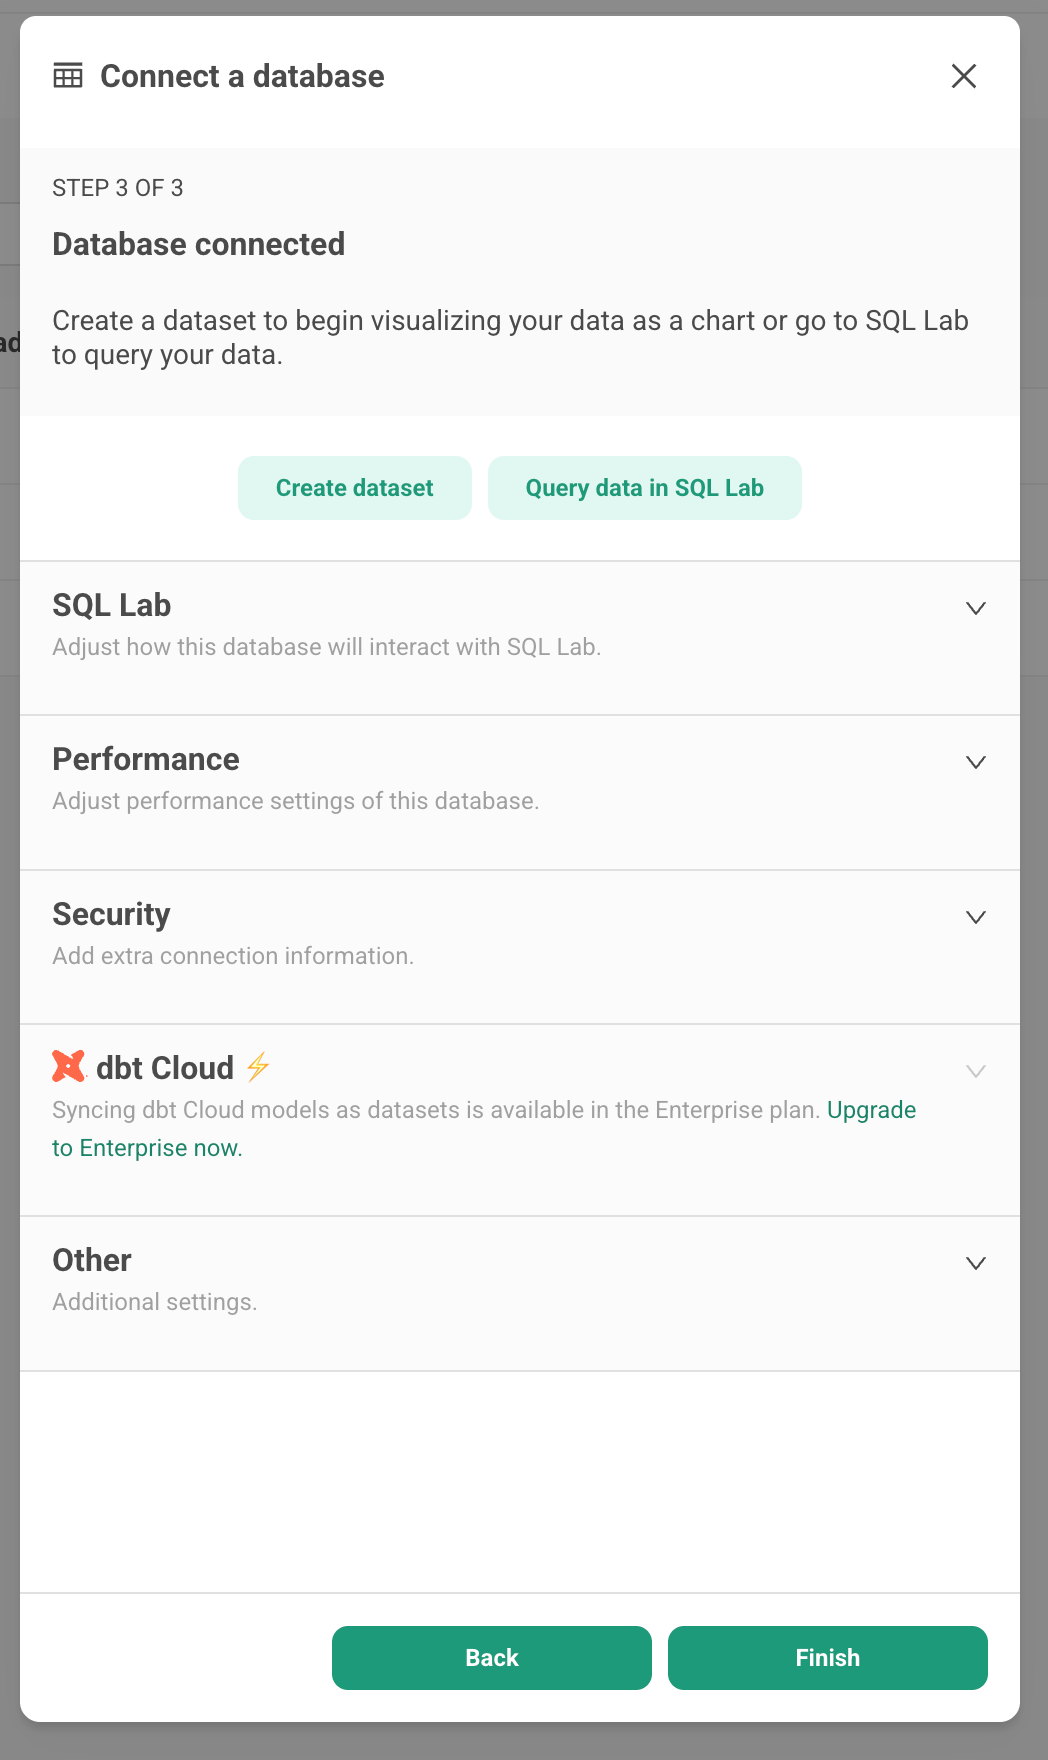
Section titled “Step 3: Complete Connection and Optional Adjustments”You have successfully reached the final stage of the Connect a database wizard.
1. Connection Success
Section titled “1. Connection Success”- Database Connected: Your Google BigQuery database is now successfully linked to Preset.
2. Advanced Settings (Optional)
Section titled “2. Advanced Settings (Optional)”-
Customization: At this stage, you have the option to expand and customize various advanced database configurations (such as performance tuning, cache timeouts, or specific schema security options).
-
Modify Later: If you prefer to skip this, you can safely ignore these configurations for now. All advanced settings can be updated or changed at any time later from your database connection list.
3. Save and Finish
Section titled “3. Save and Finish”- Review your settings and click the FINISH button in the bottom-right corner to save your new data source and complete the setup.
-
-
Step 4: Adding Datasets and Creating Charts
Section titled “Step 4: Adding Datasets and Creating Charts”Follow these steps to add your BigQuery tables to Preset so you can begin visualizing your data:
1. Navigation
Section titled “1. Navigation”-
Go to the top navigation bar and click on Datasets.

-
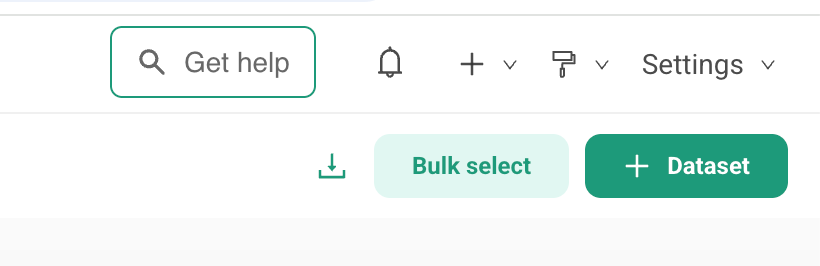
Click the + DATASET button located in the top-right corner of the screen.
-
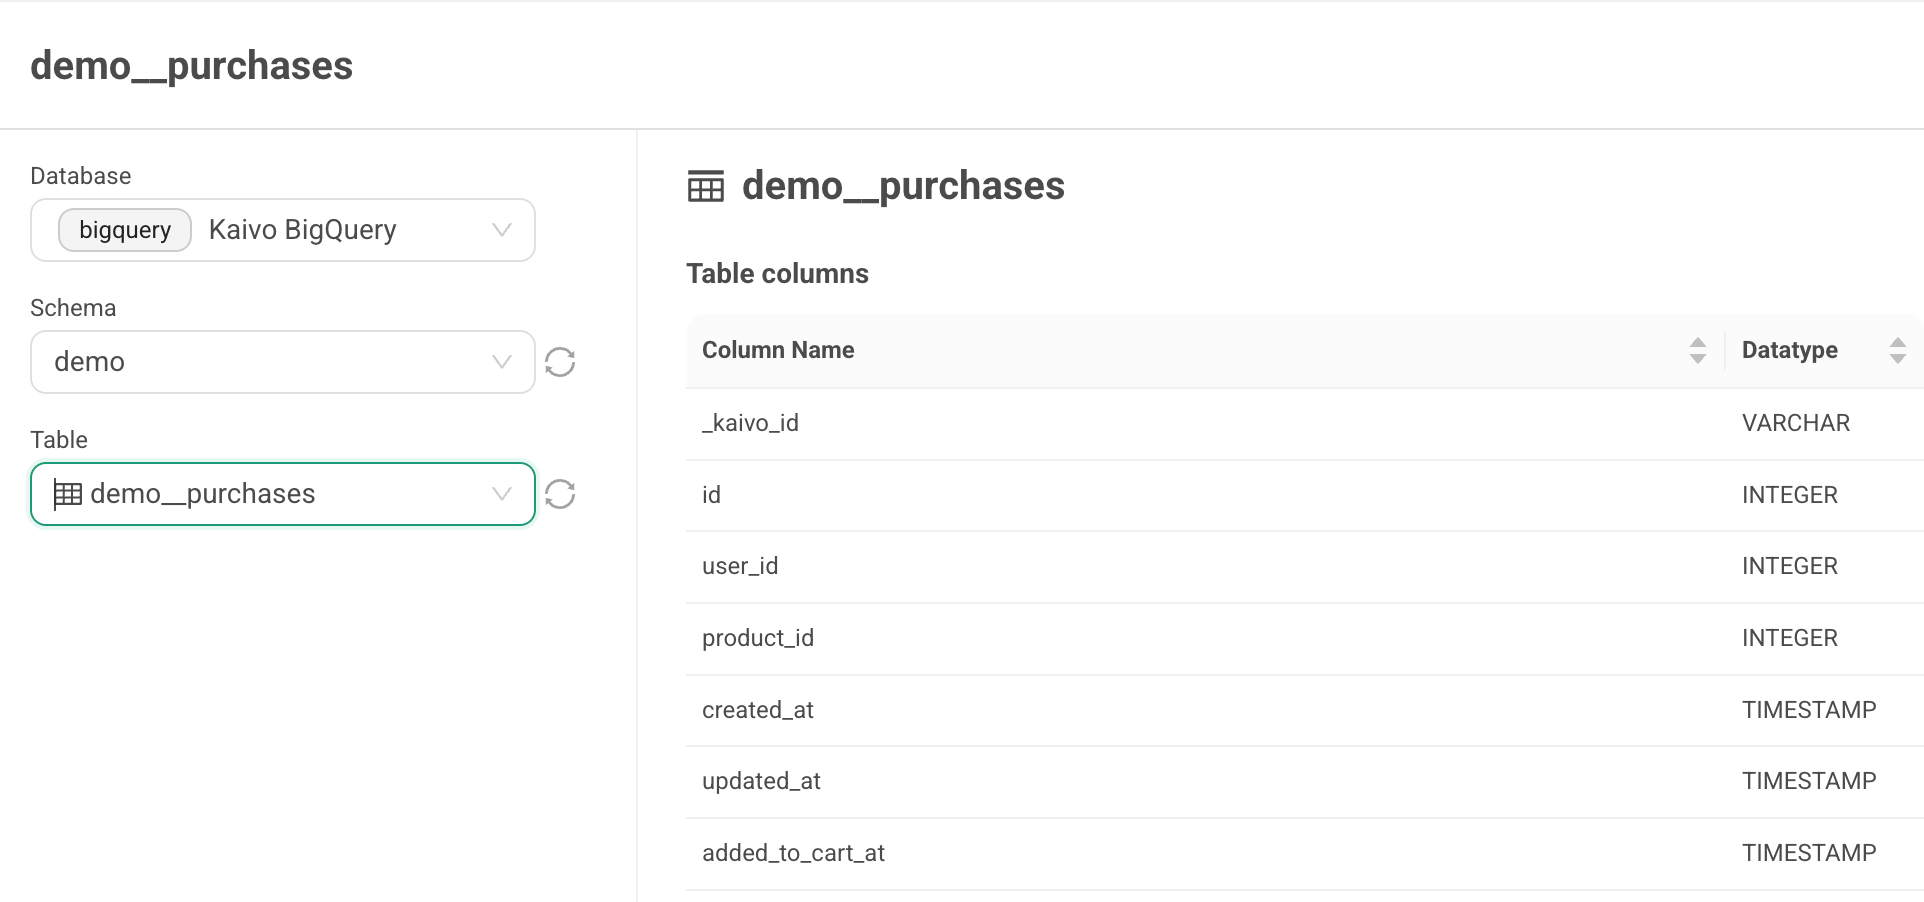
Select the connected BigQuery database, and choose some schema (= dataset in BigQuery) and table. Once ready, select CREATE DATASET AND CREATE CHART at the bottom-right corner to start creating charts!