Setup Service Account
This page is a step-by-step guide on how to set up a service account in Kaivo.
A service account is a special kind of account typically used by an application rather than a person. They can be used to, for example, give data tools access to data warehouses.
More on what is a service account, can be read here: Service account.
Step-by-Step Setup Guide
Section titled “Step-by-Step Setup Guide”Step 1: Navigate to Service Accounts
Section titled “Step 1: Navigate to Service Accounts”-
Open the Kaivo dashboard.
-
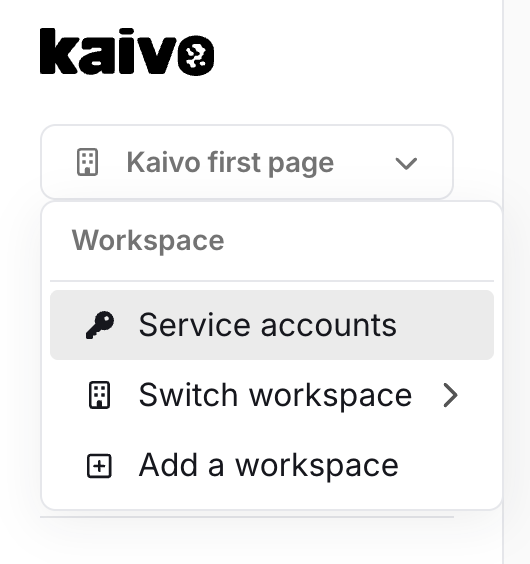
Click on your workspace dropdown menu in the top-left corner.
-
Select Service accounts from the list.
Step 2: Initialize Creation
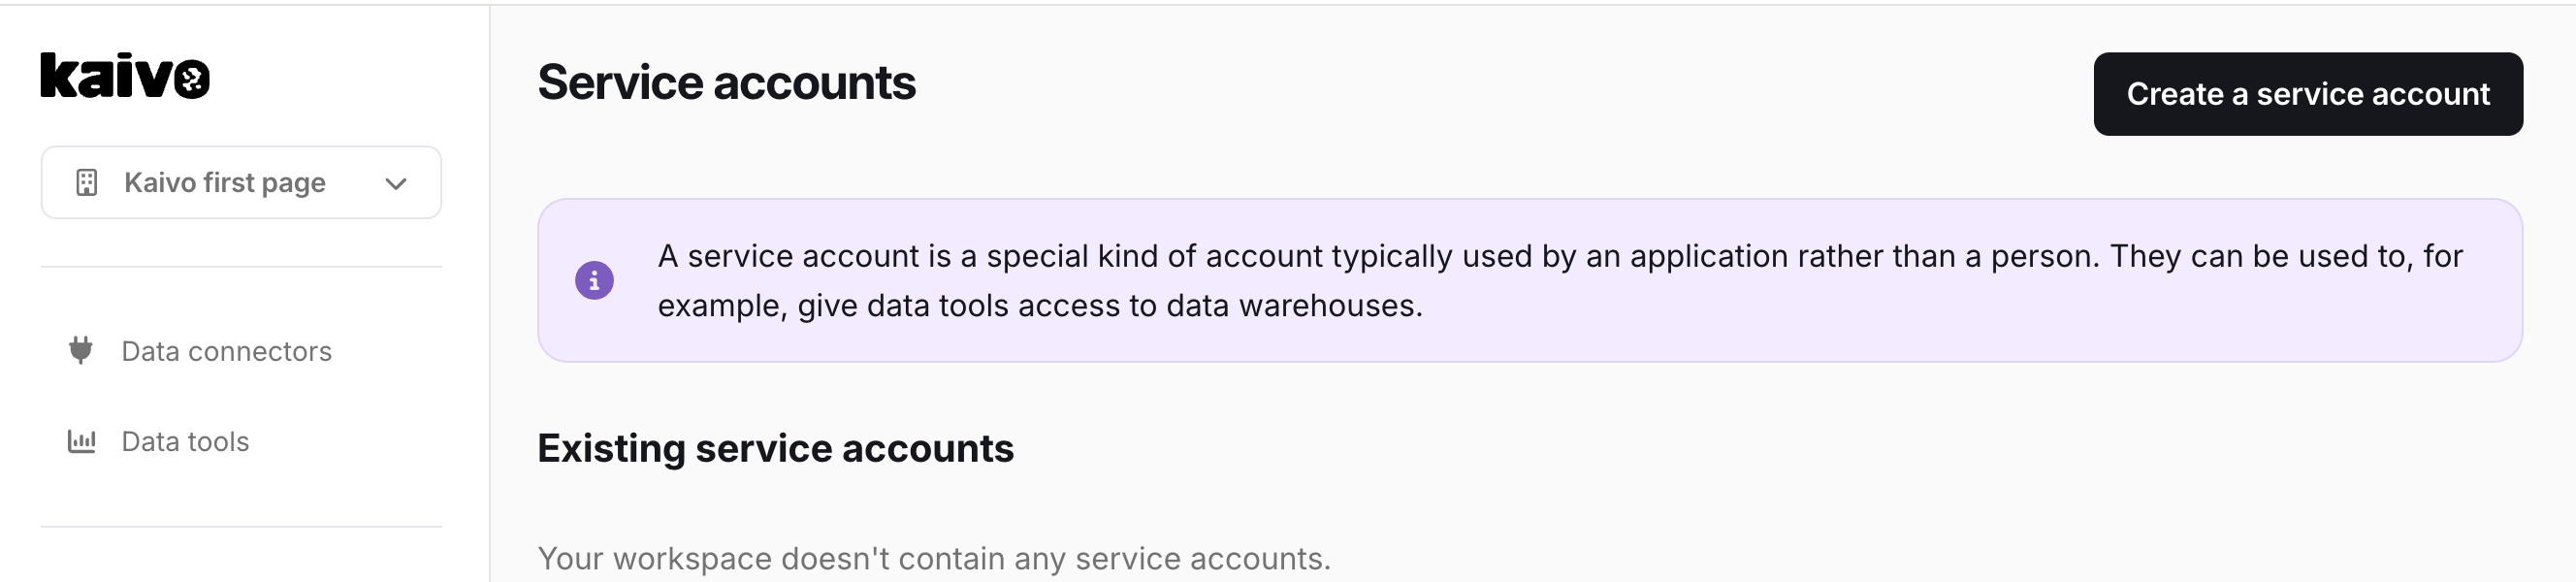
Section titled “Step 2: Initialize Creation”- On the Service Accounts page, click the black Create a service account button located in the top right corner.
Step 3: Configure the Data Tool
Section titled “Step 3: Configure the Data Tool”-
In the Data tool dropdown menu, select the specific tool you want to grant access to (e.g., Power BI, Tableau, dbt Cloud, Google Sheets, etc.).
-
(Optional) Enter a clear description in the Description box to help you remember why this specific account was created (e.g.,
Power BI service account). -
Click the Save button.
Step 4: Secure and Save Your Credentials
Section titled “Step 4: Secure and Save Your Credentials”Once saved, Kaivo will generate the unique credentials for the service account.
⚠️ CRITICAL SECURITY NOTE: > These credentials will only be displayed once. If you close or refresh this page before saving them, you will lose access to the private key permanently and will have to create a new service account.
-
Copy the Service account email: Click the copy icon next to the email address. You will need this to grant permissions within your data warehouse or cloud console.
-
Download the JSON Keyfile: Click the Download button (or copy the contents from the box) to save the private JSON keyfile to your local machine.
Next Steps
Section titled “Next Steps”Once you have safely stored the JSON keyfile and email, click Back to service accounts. You can now import the downloaded JSON key file directly into your chosen data tool (like Power BI) to authenticate the connection.